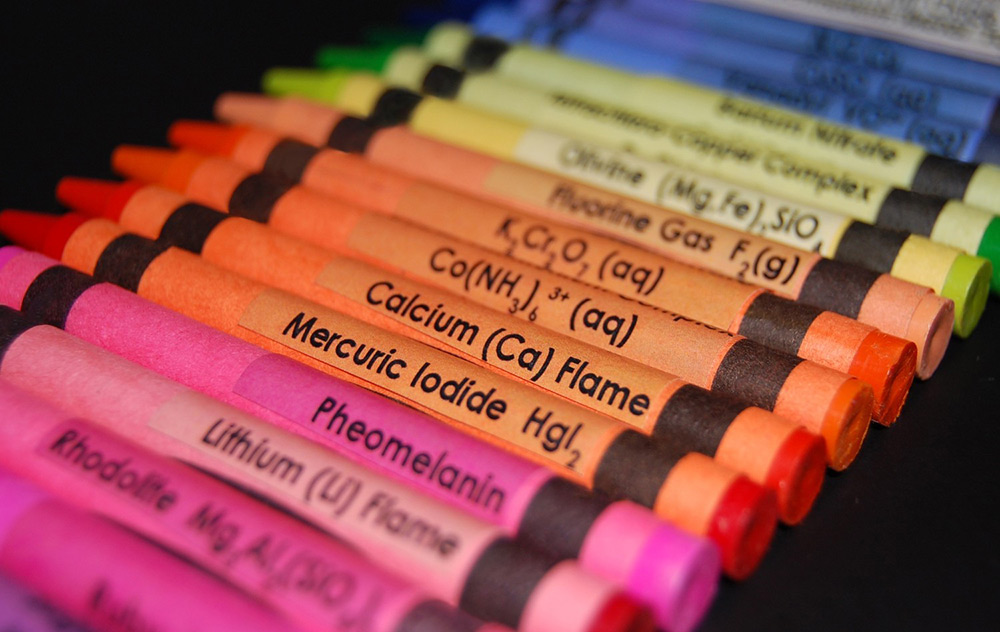
“Children play and draw with crayons practically every day, so why not make the experience more educational? This listing is for a set of 24 labels to stick in the crayons in a basic 24 pack of crayons so that while children are coloring, they are also exposed to the names of chemicals that will make those colors! So instead of thinking “I want green” they will think “I want Barium Nitrate Ba(NO3)2 Flame” and then when they take chemistry in high school and their teacher sets some gas on fire and it makes a green color and they ask the class what chemical it was your student will know it was Barium! Genius!”
“Denatonium, usually available as denatonium benzoate (under trade names such as BITTER+PLUS, Bitrex or Aversion) and as denatonium saccharide, is the most bitterchemical compound known, with bitterness thresholds of 0.05 ppm for the benzoate and 0.01 ppm for the saccharide.[2] It was discovered in 1958 during research on local anesthetics by MacFarlan Smith of Edinburgh, Scotland, and registered under the trademark Bitrex.[3] Dilutions of as little as 10 ppm are unbearably bitter to most humans. Denatonium salts are usually colorless and odorless solids but are often traded as solutions. They are used as aversive agents (bitterants) to prevent accidental ingestion. Denatonium is used in denatured alcohol,[4]antifreeze, nail biting preventions, respirator mask fit-testing, animal repellents, liquid soaps, and shampoos. It is not known to pose any long-term health risks.[5]“
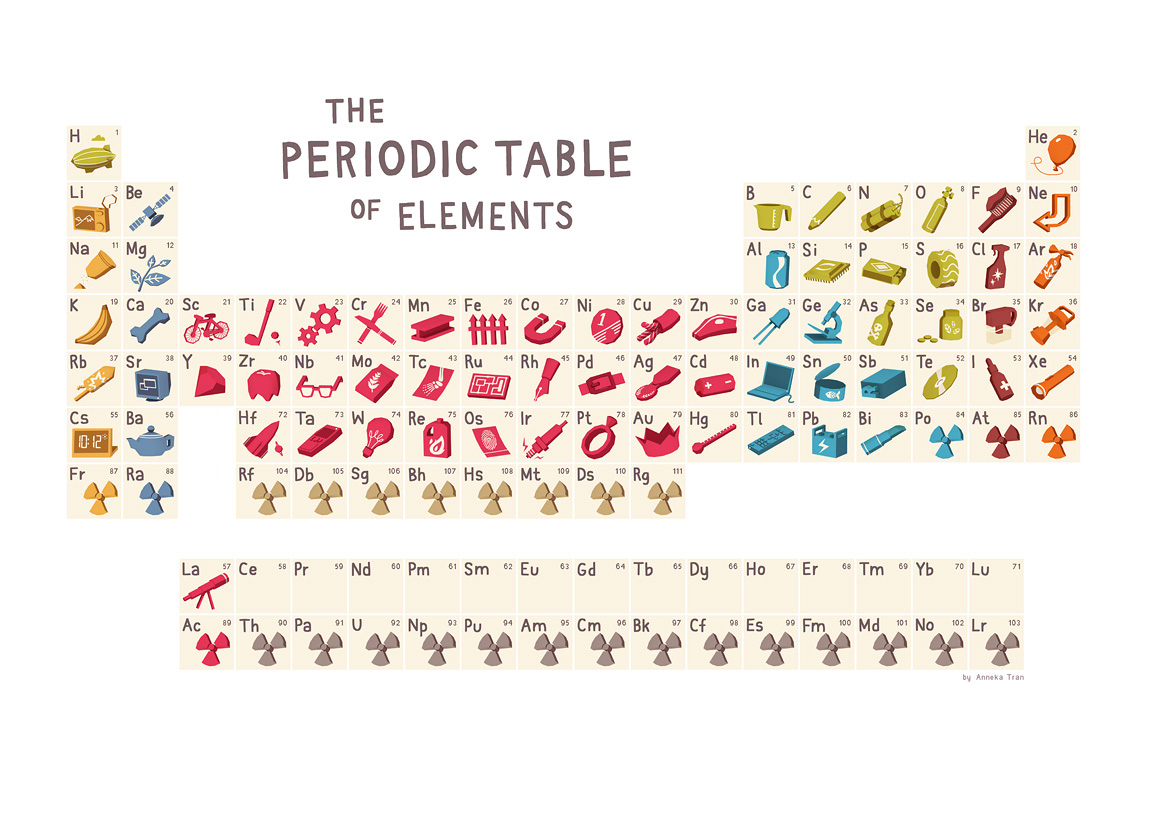
Just a heads up: Popperfont is going to take a bit of a break until the New Year, but over at the Science Creative Quarterly, we have our Sciencegeek Advent Calendar Extravaganza thing still in progress. Do check it out by visiting scq.ubc.ca, and by clicking the elements!
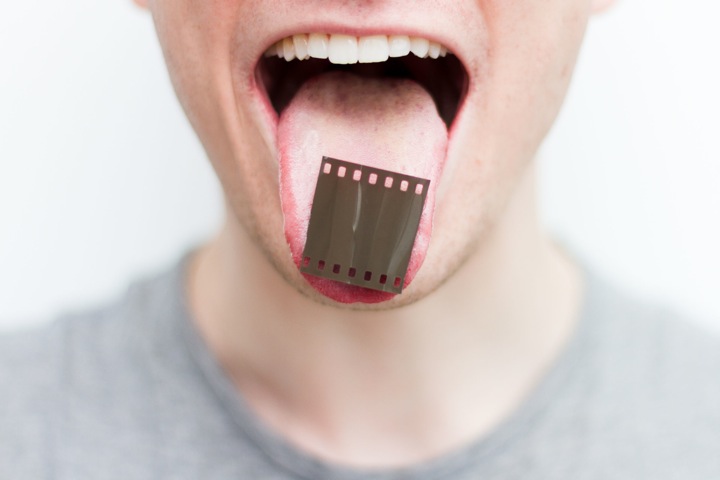
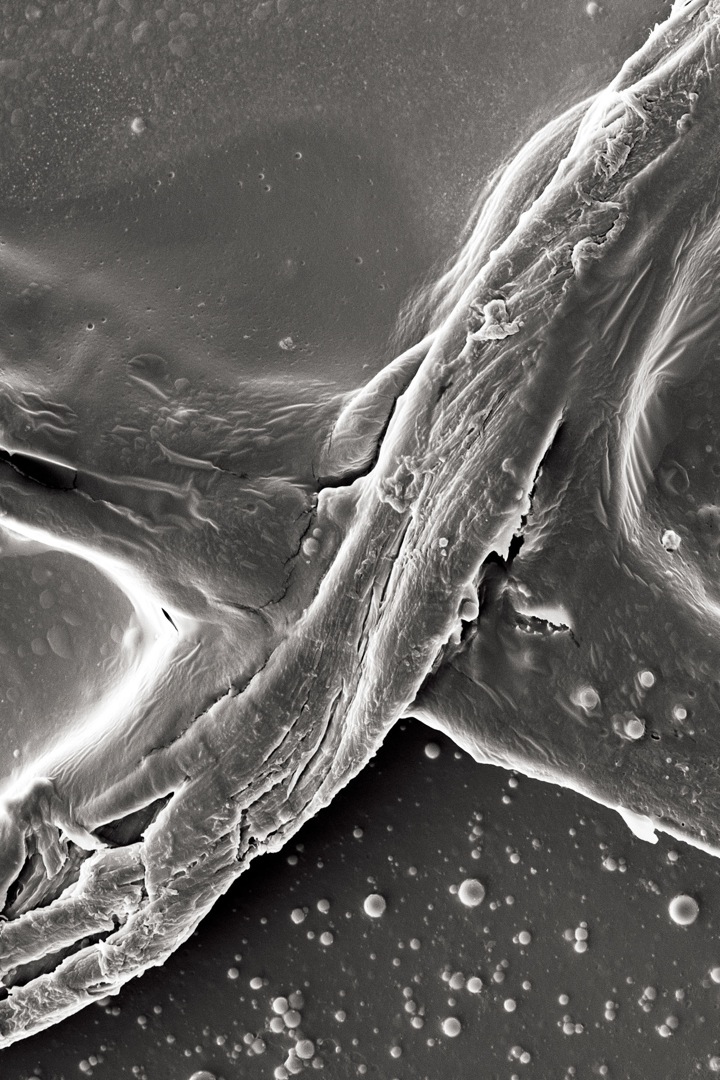
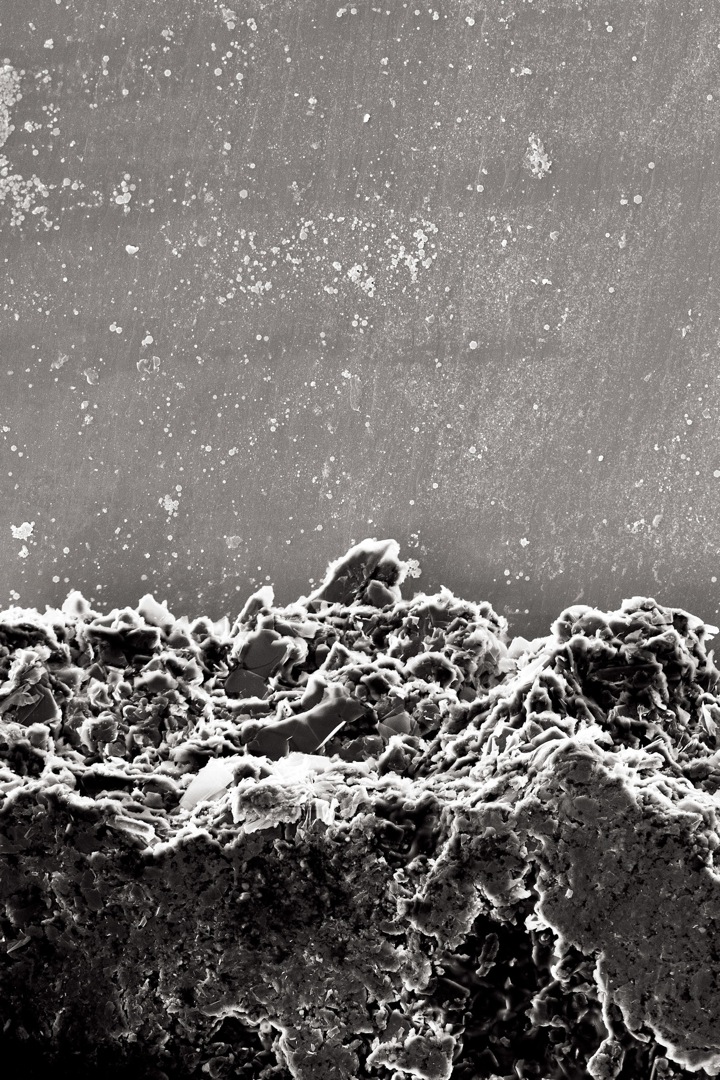
Kingston University photography students Luke Evans and Josh Lake decided to turn themselves into human cameras by eating 35mm film squares and letting their bodies do the rest. The single film segments were first ingested, excreted (in a dark room) then washed.
In about a week from now, my lab’s Science Creative Literacy Symposia fieldtrip will begin a new season in earnest. Here, I’ve got a great mix of science grad students, and creative writing MFA’s coming together to design fieldtrips, all in an attempt to highlight the fact that mixing science with creative writing isn’t such a strange thing after all.
The first session will host a Grade 5/6 class, where kids will explore the basic theme of “invisible things.” To do this, the science experiment that has been lined up involves making a DIY cloud chamber – fully capable of picking up contrails from the activity of sub-atomic particles (I know… so awesome!).
I think this is just about the perfect sort of thing to broach the subject of things that are “invisible,” and as a nice touch, I believe the grad students may go about this fieldtrip without giving the kids a heads up on what they might see (i.e. they’re aiming for that wonderful feeling of surprise and elation with discovering something unexpected – “Whoa! What was that!”).
The methodology, itself, can be found in various places on the net, but this here below is a really nicely done YouTube video on the matter, which we’ve used as the basic template.
Still, like a lot of things on YouTube, there are often details that are missing which may actually be quite important. More so, if the intent is to get a class of 11 year olds to make 12 of these things that have to work in a somewhat reliable and safe fashion.
Anyway, apart from a dark room, here are the basic supplies needed:
– – –
– – –
There’s a couple key things that I can point out here. Firstly, the tin foil pie plate is essentially the base that will be made cold (with the dry ice), so as to create a temperature gradient, which in turn is responsible for producing an isopropanol cloud. As such, there’s a few important things it needs:
1. You need isopropanol, which is actually quite easy to get (look for the 99% rubbing alcohol in your local pharmacy). Dry ice on the other hand is sometimes tricky to get (in Canada for instance, there are official rules for its transportation).
2. It needs to be of a colour that allows you to see an isopropanol droplet cloud easily. Most videos seem to suggest something with a black surface, but this isn’t always easy to find, and possibly expensive if you need 12 of them. We’ve tried pie plates that were silver/grey (usually the most common) and red in colour (red was really difficult to observe), but the tin foil variety actually worked really well. This seems partly because it’s able to reflect the incoming flashlight, so that you can control the angle of light (just so) and in a way to best see this cloud.
3. It needs to be deep enough to encase a sufficient enough amount of dry ice, so as to more effectively maintain that cold temperature gradient. Here, we tested plates that were about 1/2 inch deep versus 1 inch deep, and the 1 inch variety worked much better. Presumably, it would also work if you just sat a thin sheet of metal right on top of a dry ice block (we were using pellets).
4. It needs to be of a material that best transfers the coldness of the dry ice to the rest of the chamber. This is why metal is often suggested, but the tin foil was just about perfect here. It’s metal, but it’s also very thin. I noted that the chamber got cold very quickly and reliably.
A second piece of equipment that needs mentioning, is the plastic cup. You can use glass, but the plastic cup works just as beautifully. Don’t forget that it has to be small enough to create a supersaturation situation, and it’s true (as the video suggested), that the smaller it is, the quicker you can see results. If possible, try to get cups without ridges so that there’s no obstructions to the observations.
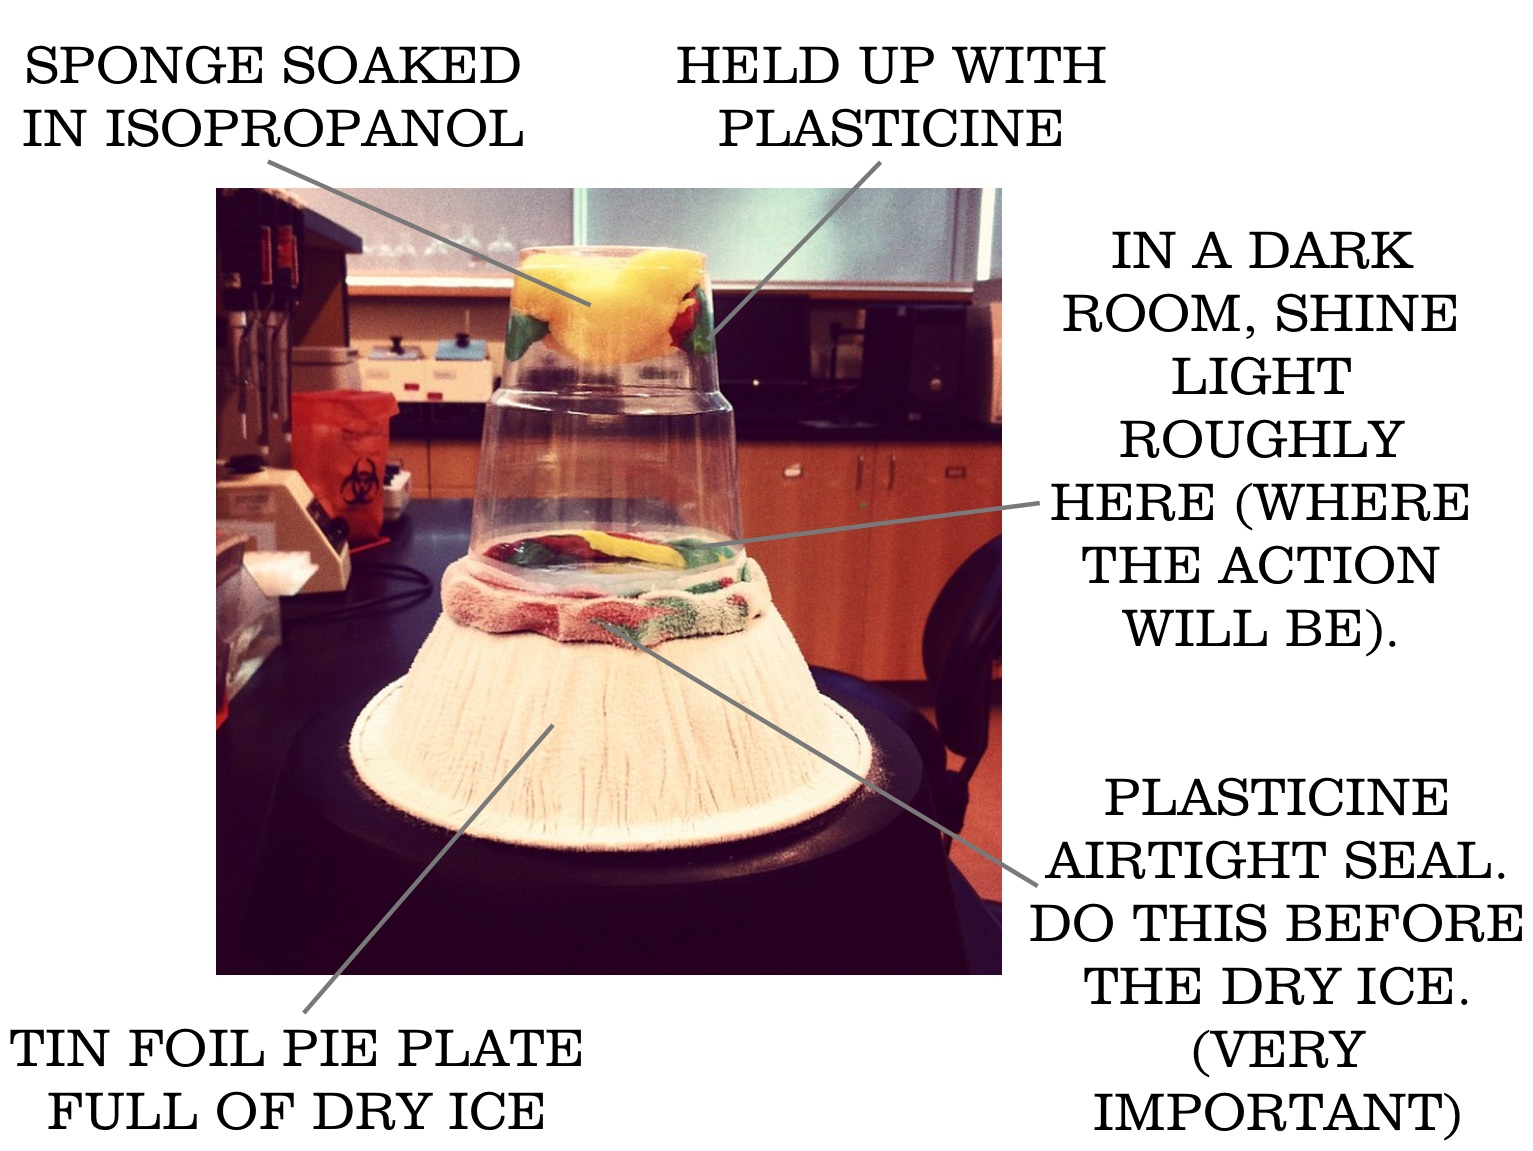
Anyway, when you put it together, it’ll look a little like this:
– – –
– – –
There’s a few key points here as well:
1. Having enough isopropanol in the system seems to be important. In this set up (with a 250ml cup) there seemed to be a big different in what we saw when there was 10ml versus 15ml of isopropanol in the system: in a nutshell, the 15ml generated a lot more visible activity (might be worth trying 20ml on the day of).
2. Concurrently, this also means you need something capable of absorbing a decent about of the alcohol, so that it’s not drippy. The video mentioned using a piece of felt, but a clipping from a “super absorbent auto sponge” worked much better (it was also a lot easier to anchor to the roof of the cup).
3. This part is IMPORTANT. The seal between the cup (after the sponge and isopropanol steps are done) and the tin foil pie plate must be completely airtight. This is why plasticine is such a great idea! As well, you should do this before any of the cooling steps, since the cooling will simply condensate water onto anything and everything, making surfaces wet and difficult to work with. I suggest putting together the cloud chamber in the following order:
(i) Construct cup + sponge + plasticine + isopropanol + tin foil pie plate” contraption. NOTE: add the isopropanol into the cup (directly on the sponge) immediately before sealing the system with plasticine. This minimizes the amount of isopropanol fumes hitting the air. In the same vein, direct handling of isopropanol is best done by an adult, and in our case, we’ll get the kids to do the sealing but will supply them with gloves (partly as a precaution, and partly because kids just like wearing gloves in a science lab) – full safety details can be found here and here (MSDS) (Thanks Dave).
(ii) Move these contraptions to your dark room (if you’re not already in it – we’ll be using a windowless lecture hall for instance).
(iii) Flip the contraptions upside down, so that the empty pie plate is now on top, AND THEN load the dry ice. (Here, of course, you’ll need to flip the whole thing upright again, so that the sponge is back on top with the dry ice at the bottom encased in the upside down pie plate – we’re going to do this with the base of an ice bucket but some sort of cold resistant matt should also work well). NOTE that dry ice should also be handled by an adult as prolonged contact can cause frostbite – see here for MSDS.
(iv) Then turn the lights off, and use your flashlight to shine a beam of light in such a way as to see that droplet cloud (looks a little like a miniature snow storm), and then, well…, then you wait. You should see something within a few minutes, but it definitely helps to be patient here.
Anyway, I’ll report back after we’ve done this, and let you know how it went with the kids. As a heads up, the creative writing portion will involve writing and acting out mini screenplays – I can’t wait!